
If you are a regular blog reader, or have taken any of our Creative Sessions, you will know that we are constantly banging on about how important great photography is for small business. I believe it to be one of the most important investments you can make in your business. Whether you employ the skills of a professional and outsource that work to them OR invest in your own knowledge, strong photography will be sure to elevate your brand in a variety of ways.
Long-serving 91 photographer Jemma Watts has hosted a number of photography workshops for us, and is extremely generous with sharing her wealth of experience. Her sessions are truly wonderful and I do urge you to check them out.
Jemma is now also going to be sharing some tips and advice through a series of blog posts, starting with this one – which covers five key elements of good photography. Over to you Jemma!
For the first in this series of blog posts, I thought I’d start at the beginning and teach you the 5 key elements you need to know when taking a photo, whether you are using a camera with multiple lenses or your trusty mobile phone. These are:
- Subject
- Light
- Composition and styling
- Props
- Depth of field
These 5 fundamental elements work hand in hand to draw your viewer’s eye to the subject in your image and create the narrative.
THE SUBJECT
The ‘subject’ is the main focal point of your image. This is what you want the viewer to look at, so you must be clear about what it is you are photographing.
Whether you’re a product or service-based business, once you are clear about the subject of your photo, you need to decide how you will photograph it. So, will it be:
- Lifestyle – products, portraits, interiors etc.
- White / plain background with no props – products, portraits
LIGHT
The eye is always attracted to the lightest area of an image first, and the lighting style of the whole picture will convey the mood of your image. You might want it light and bright or dark and moody, you must decide what is best to showcase the subject of your image, as well as the aesthetic of your brand.
Over the 20 years of my career, I have always worked with natural light, so please don’t think you have to rush out and buy a set of expensive lights. Using daylight to light your subject gives a lovely natural feel, but we all know how tricky and changing daylight can be, so it is important to learn how to manipulate it. So what can we do to make natural light work for us?
- If shooting on a table, move it next to a window.
- Place your subject either with the light to the side or from the back, which we call back-lit. For a portrait ask them to face the light or have the light to the side, it’s much harder to have the light behind them until you understand manual exposure mode.
- Avoid direct sunlight as this can cause very harsh shadows. A north-facing window is best for photography as you never get direct sun.
- Use a diffuser to diffuse any harsh light, a sheer piece of fabric is just as good.
- Use a reflector to reflect light into the dark areas of your subject. A piece of white card or tinfoil can be a simple way to bounce the light back onto the subject.
- Consider the time of day and time of year, when the light varies in warmth.
COMPOSITION AND STYLING

The composition of your photo helps you tell the story of your subject and draws the viewer’s eye to the right part of the image. Here are some basic rules of composition that you can use when learning, but of course all rules can be broken as long as you know how and why you are breaking them!
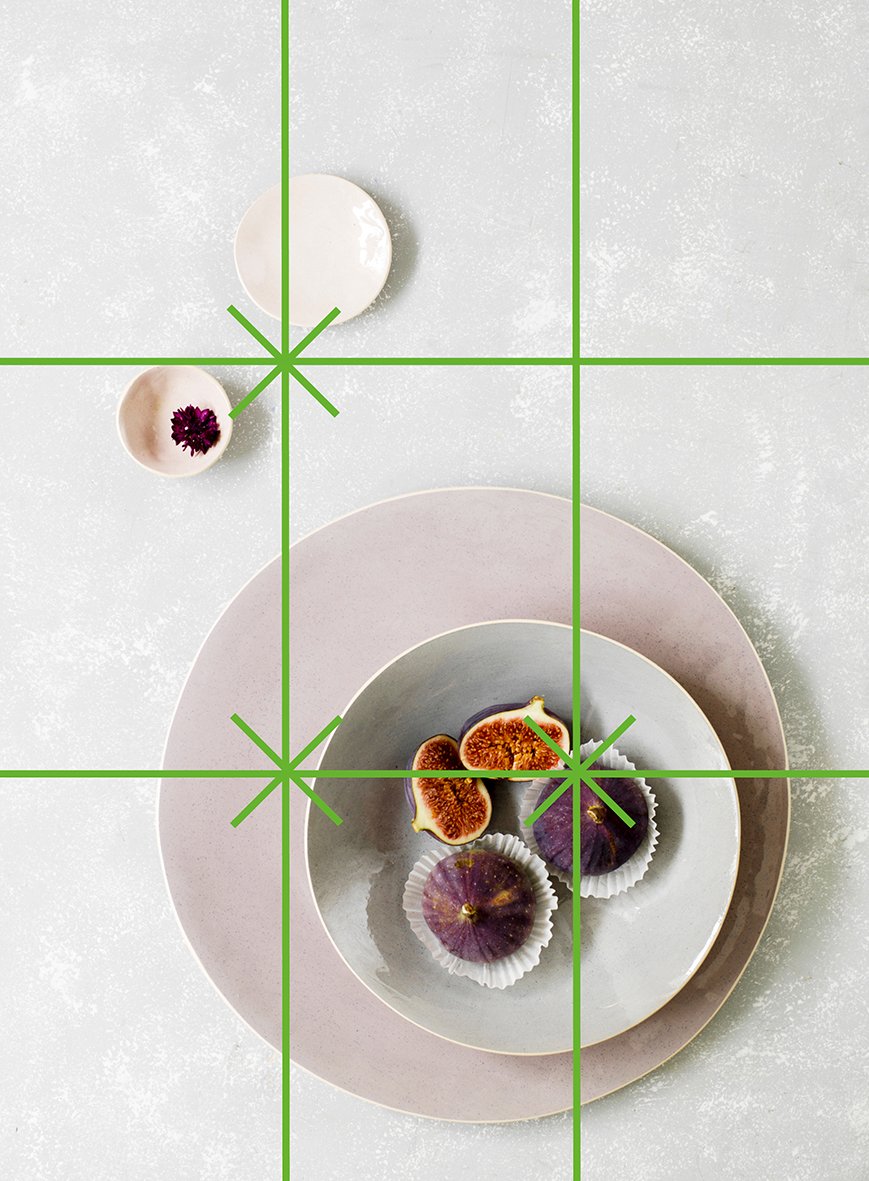
- Rule of Thirds – this is said to bring harmony to the image and is more naturally pleasing to the eye.
o Divided the image / viewfinder into thirds by placing two equally spaced lines both horizontally and vertically. This creates 9 parts with 4 intersection points.
o Place the most important element of your image on one of the four intersection points, or along one of the lines itself.
o You can turn the grid on in your phone camera settings, and all cameras will also have a grid available through the viewfinder or on screen.
- Perspective – shooting from straight on, overhead or an angle, landscape or portrait.
o An overhead shot will flatten any height of an object, making them all appear the same height. This is good when shooting lots of elements, but not if you want to show depth.
o Always look around all four corners of the frame, make sure there is nothing unwanted or unnecessary in the image.
- Negative space – this can accentuate the subject, giving it space to breath. It’s also great if you want to place text on the image.
- Colour – think which colours compliment each other.
- Setting – Choose the right setting/backdrop for your subject, this contributes to the narrative of your image.
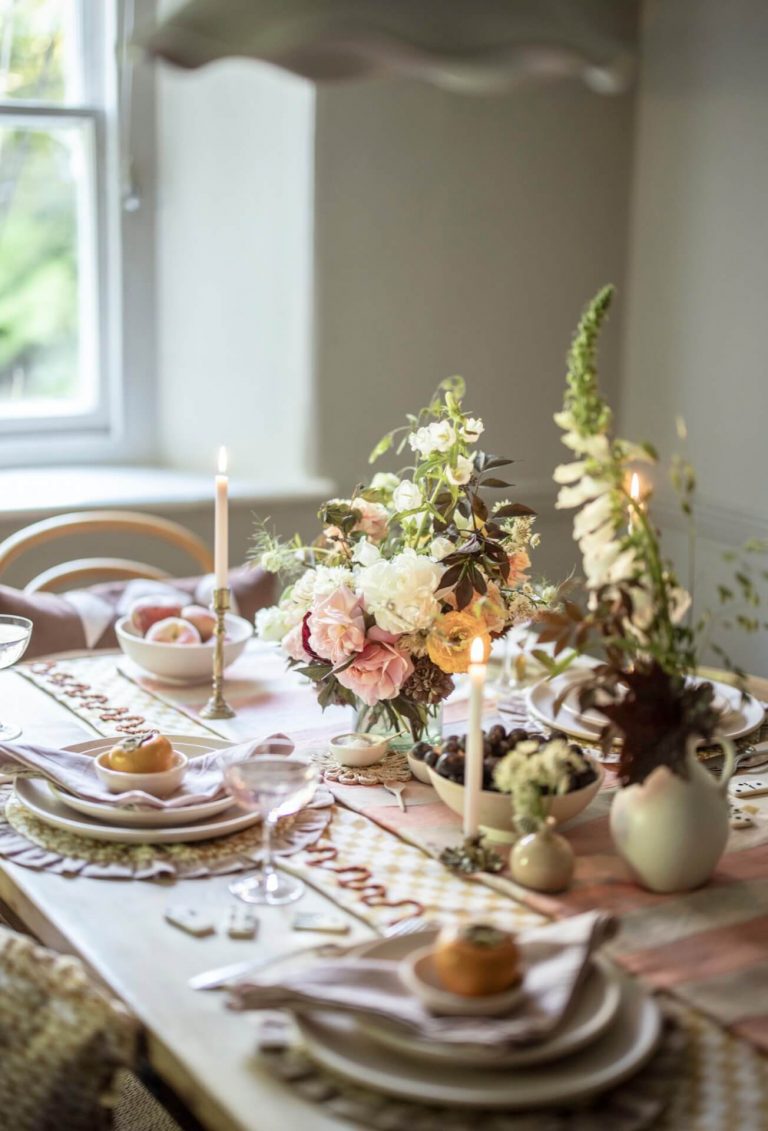
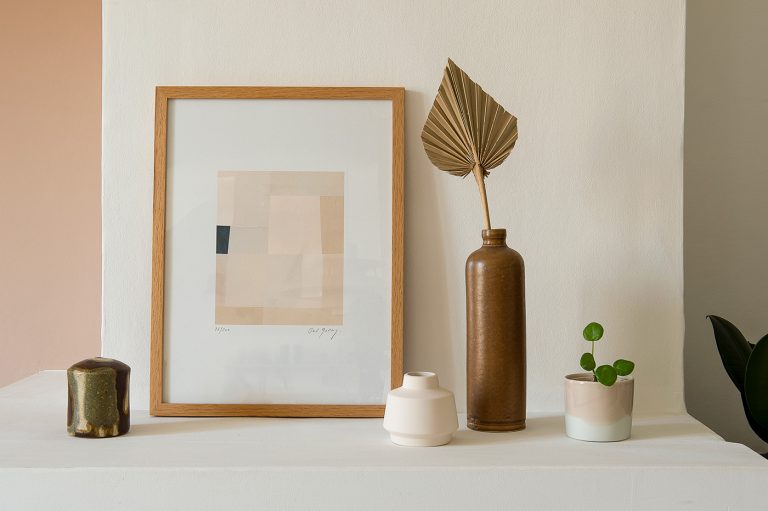
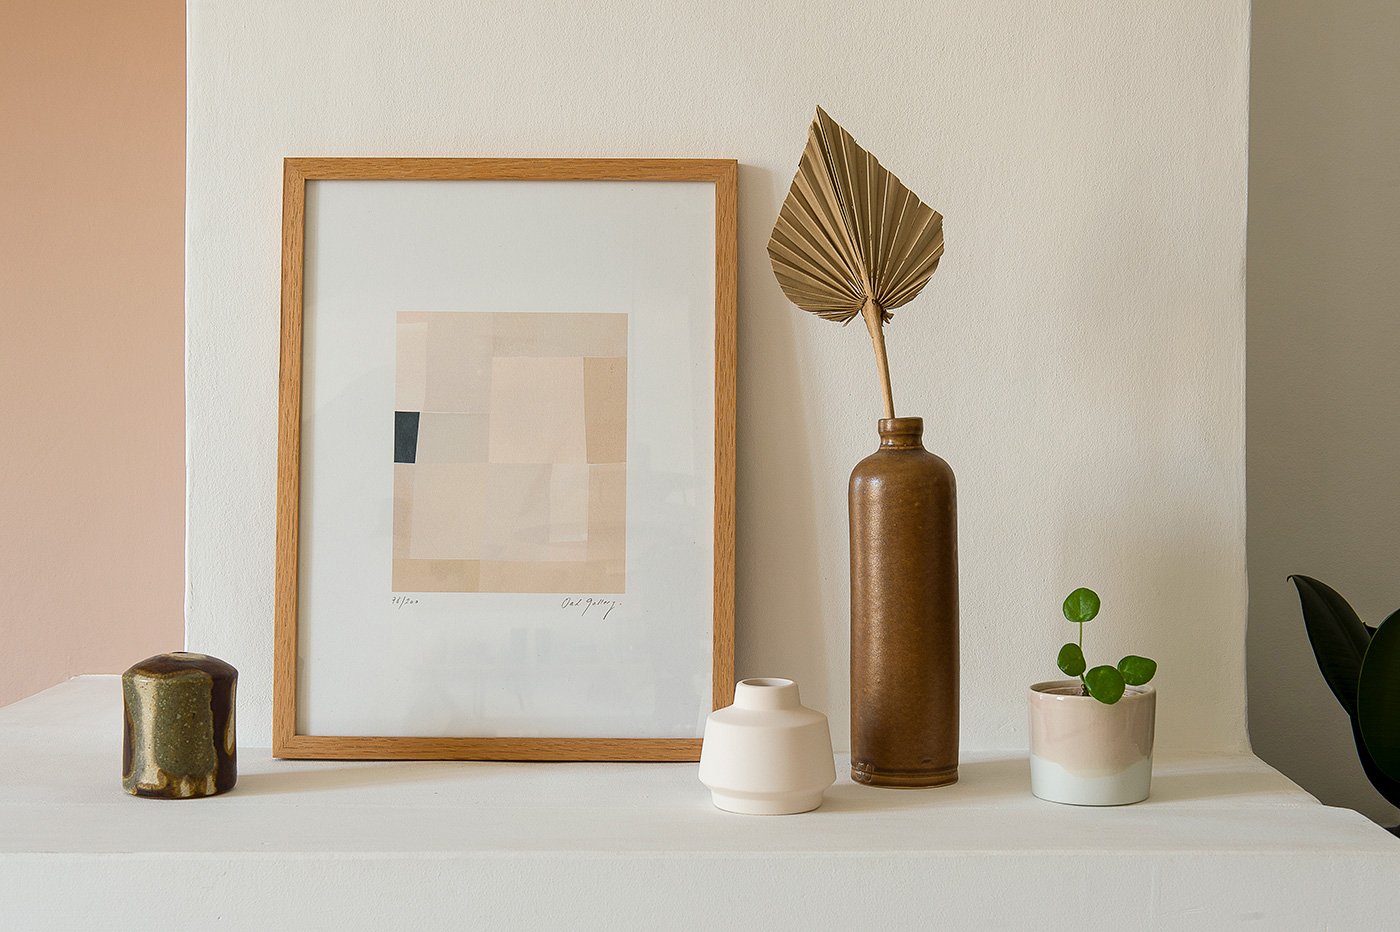
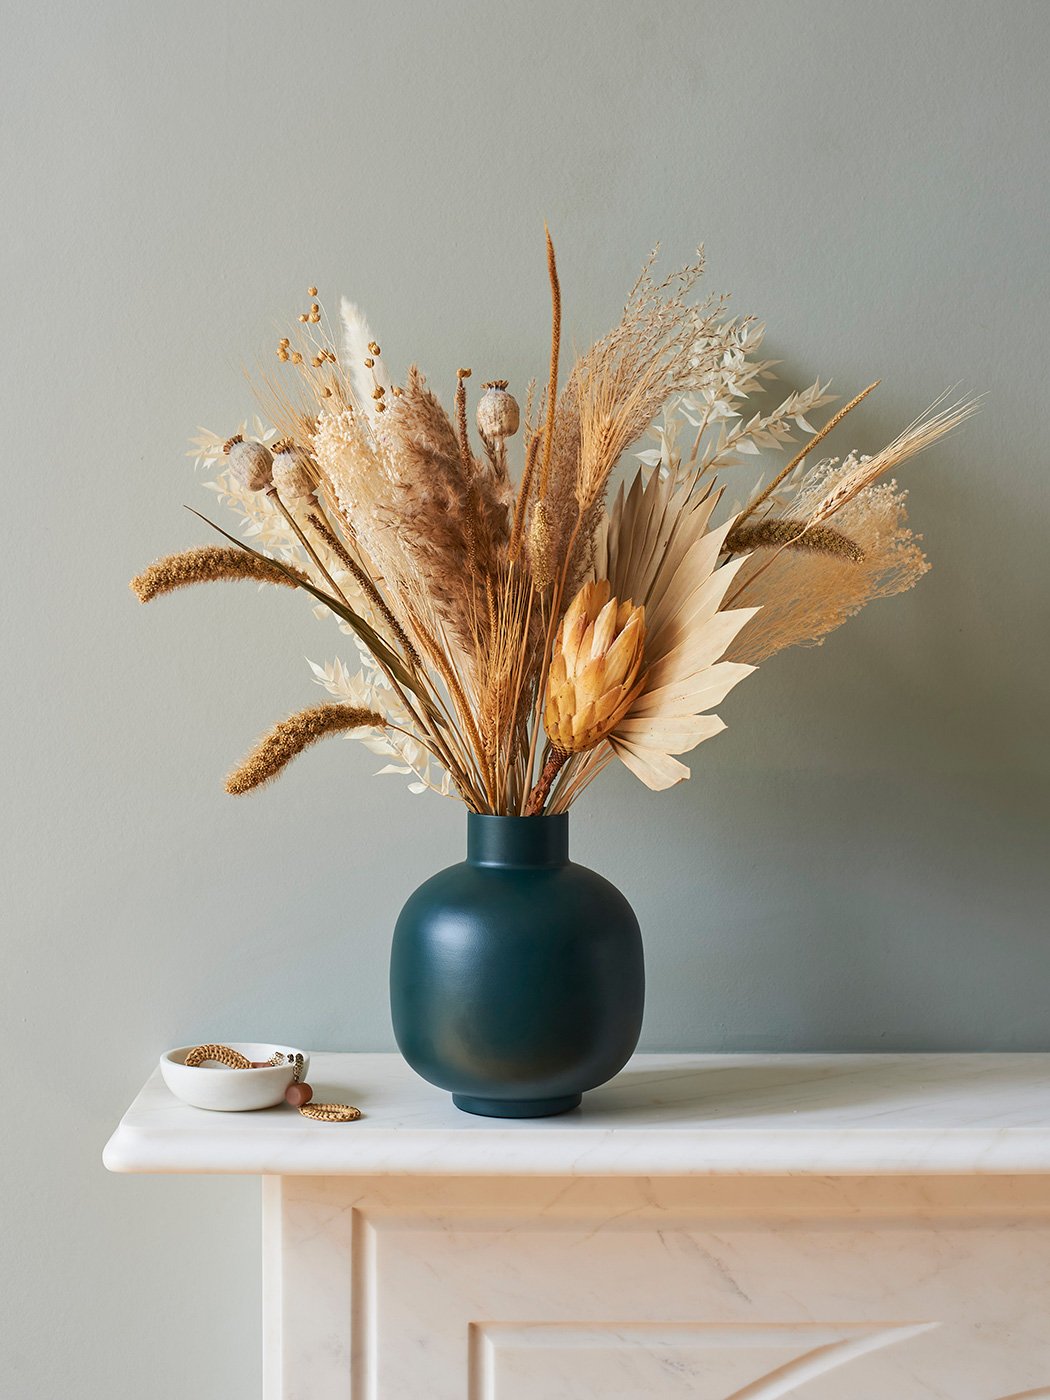
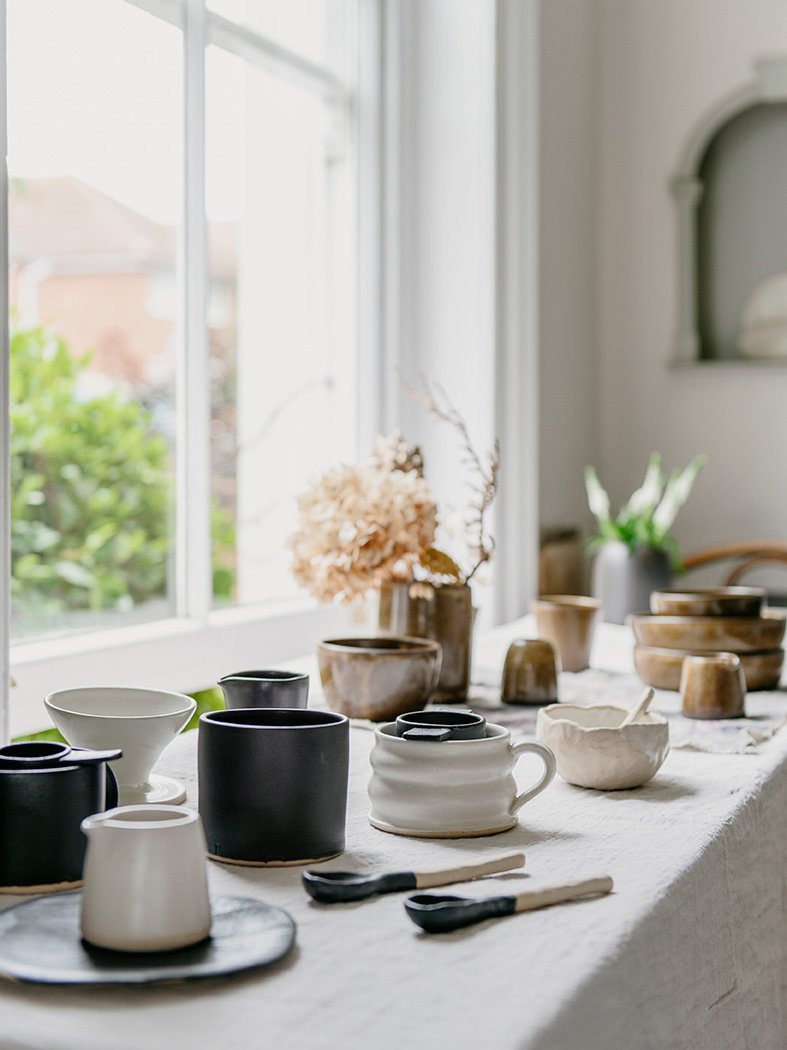
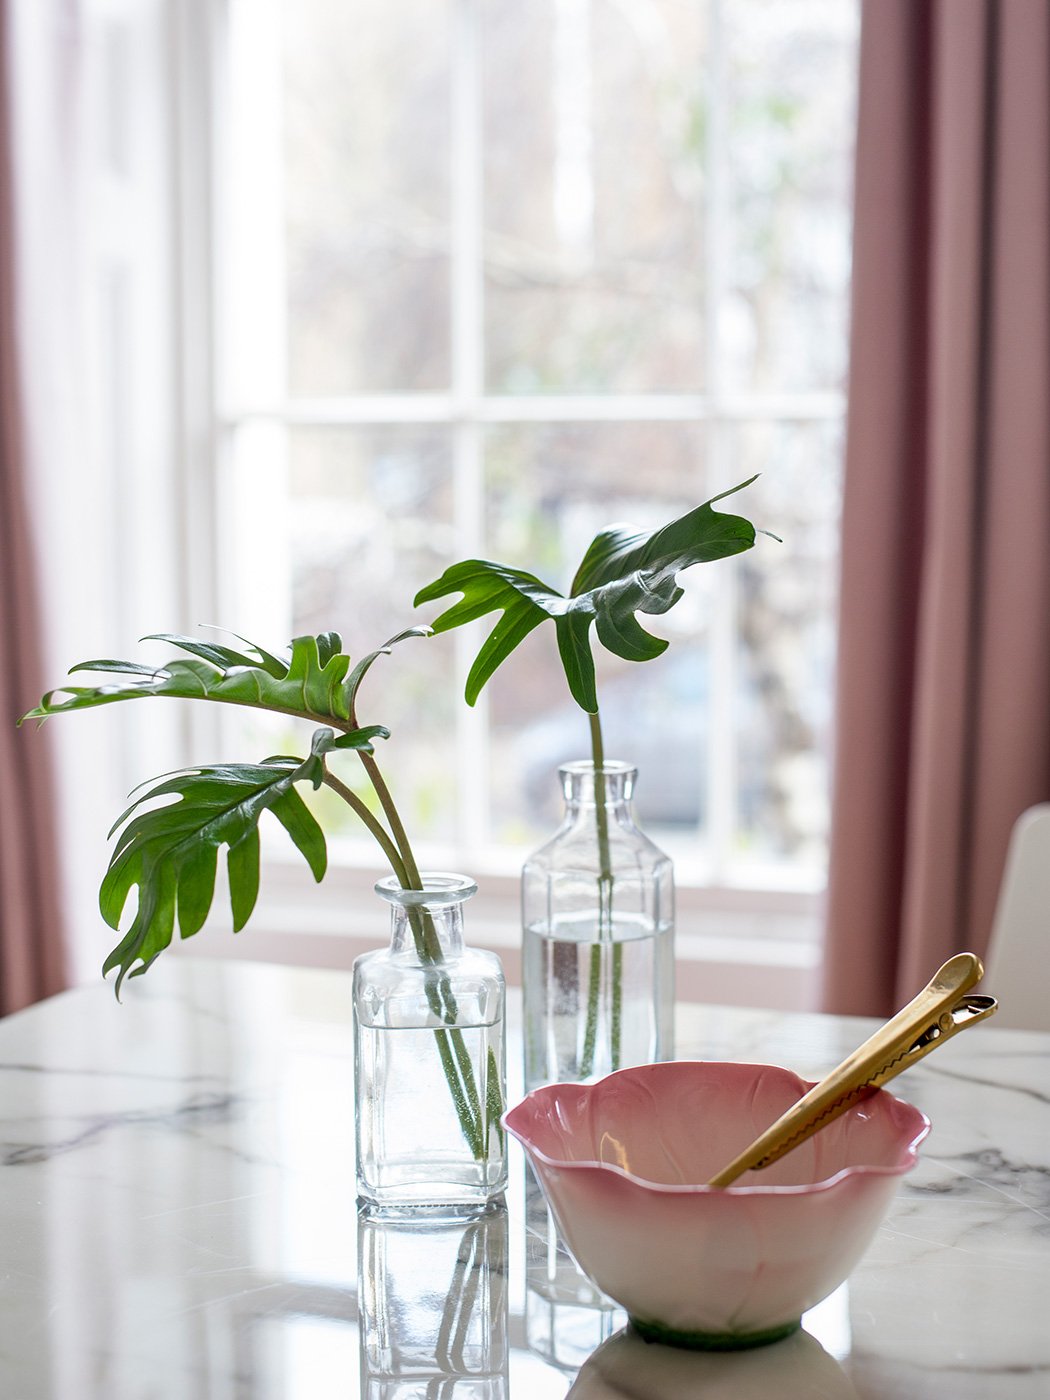
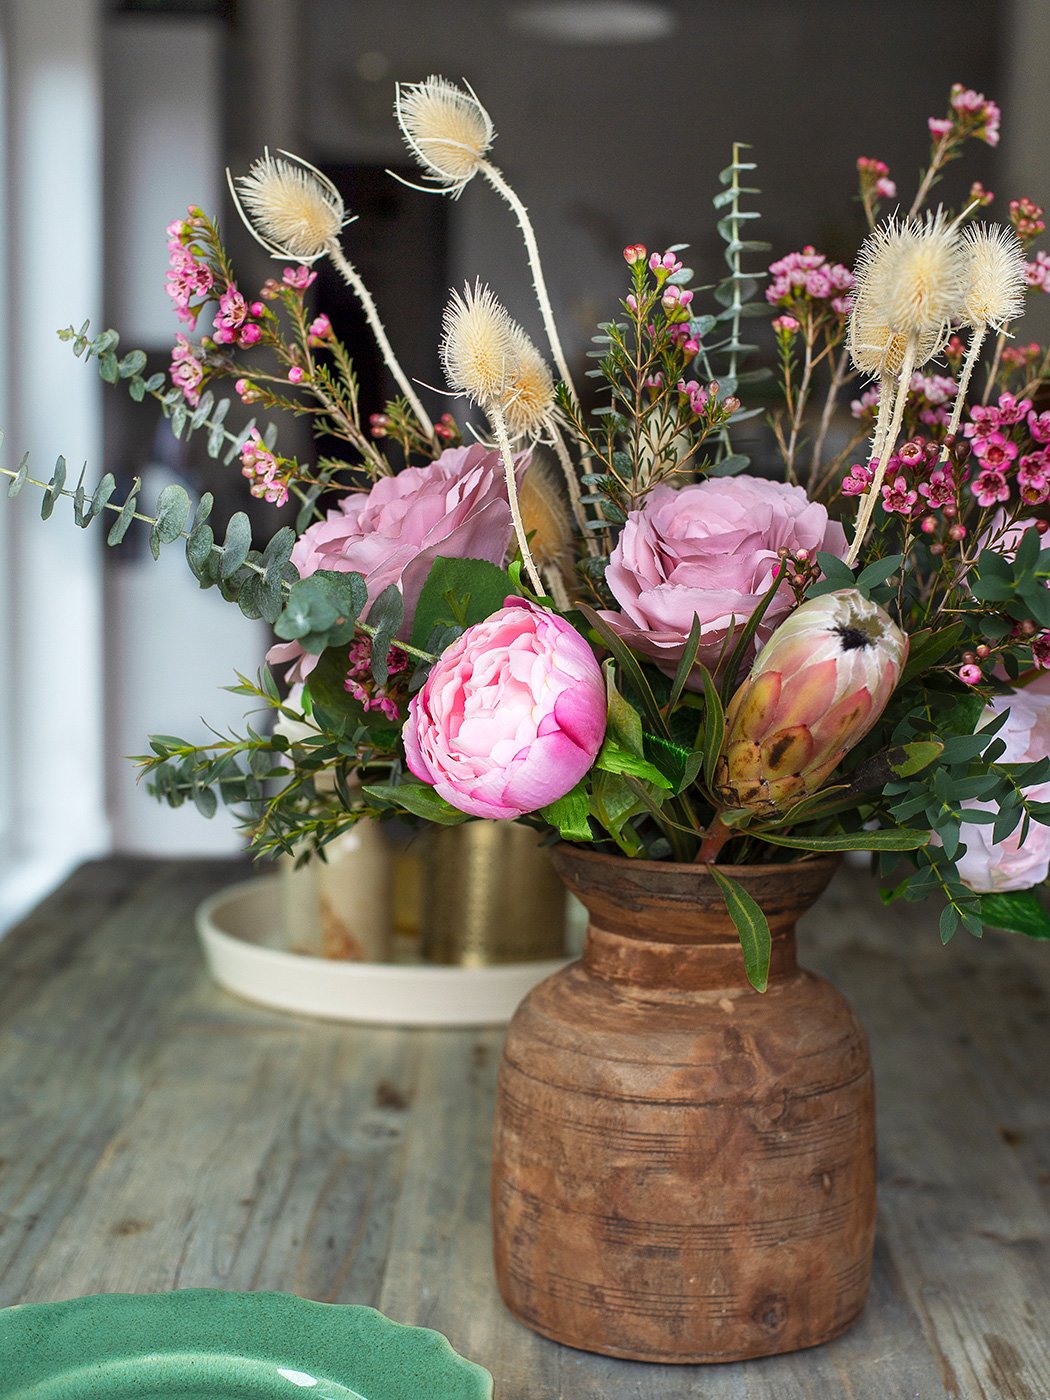
PROPS
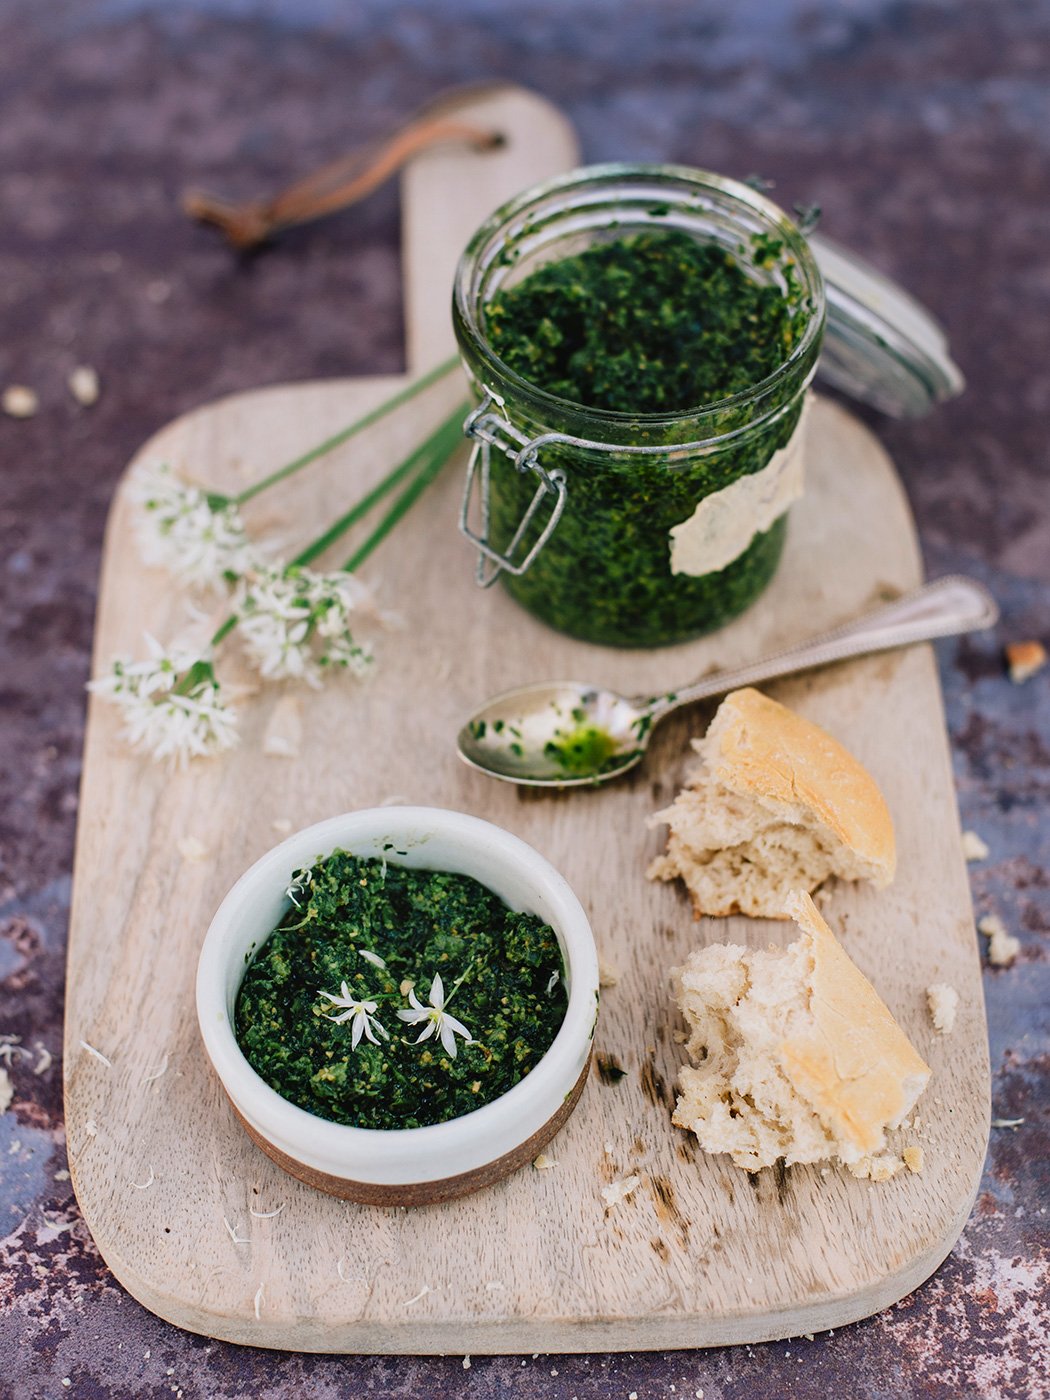
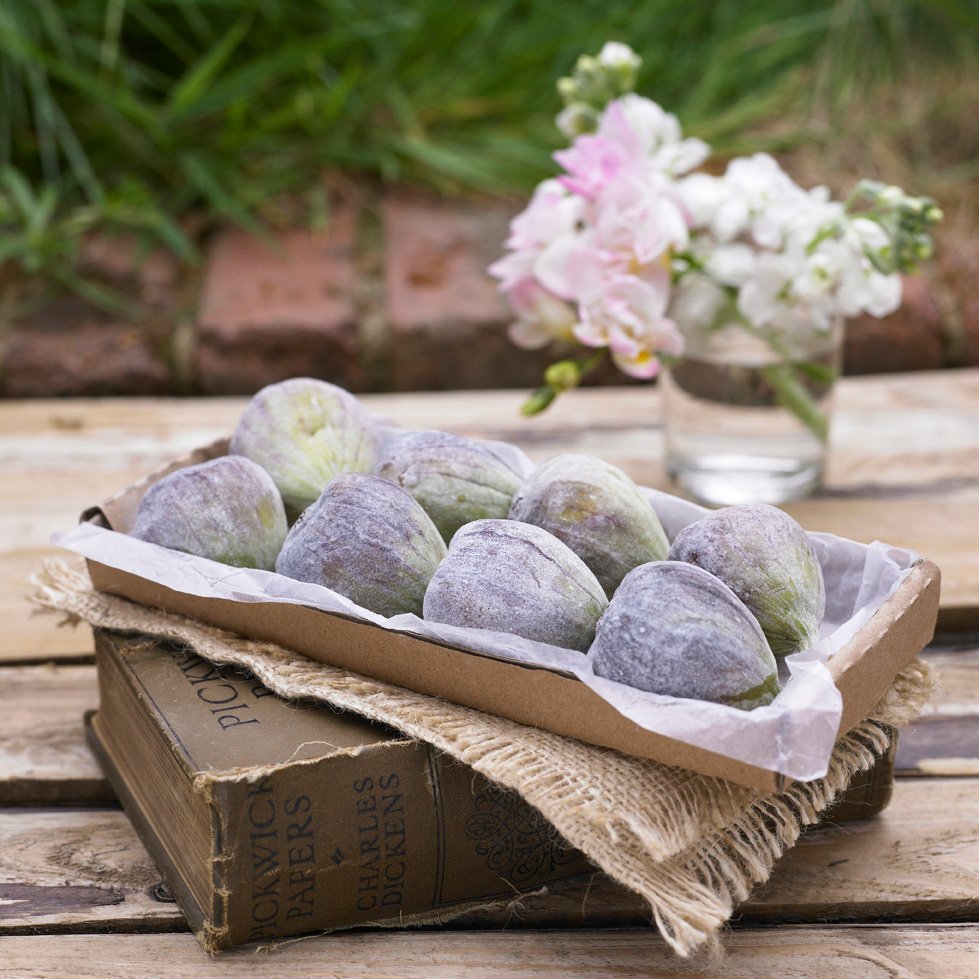
Props give substance to your image and context to the subject. Don’t overcrowd your image though, remember the subject is the hero, not the props. These are just a few of my favourite props when styling products or food…
- Backgrounds – you can order some from Captured By Lucy or Photo Boards
- Flowers, vases
- Fabrics
- Books and magazines
- Drinks, fruit, croissants etc.
- Cutlery and crockery – not shiny though as this caused unwanted reflections
- Ceramics
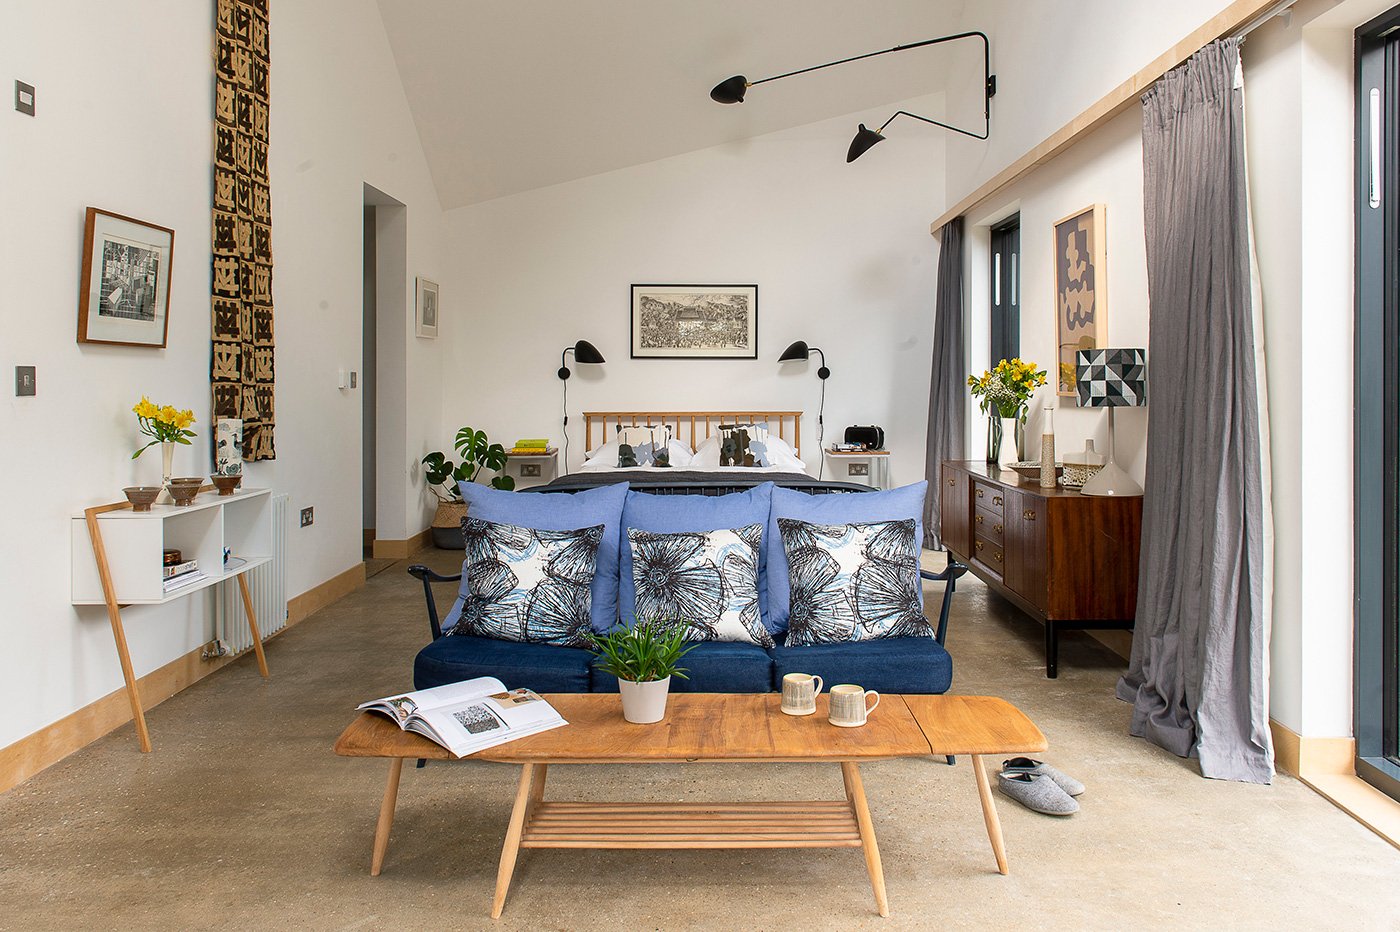
EXTRA TIP: When styling a room and shooting interiors, make sure no wires or plugs are showing or are obvious.
DEPTH OF FIELD

This determines how much of your image is in focus and is the presence (or not) of blur in your image. Depth of field is controlled by changing the aperture – the opening and closing of the lens. Aperture is part of what we call the ‘exposure triangle’, along with shutter speed and ISO, all of which work together to control light coming into the camera, but I’ll be teaching you more about this in a later blog. For now, set your camera to Aperture Priority (AP) mode, and the camera will control the rest.
I’m not going to lie, learning how to control depth of field is not easy, it took me hours of practise in the early days! However, once you’ve mastered it you can be so much more creative with your photography. And the good news is, you can control the aperture on your mobile phone cameras too!
- Shallow depth of field = subject in focus, lots of blur
- Deep depth of field = more, or all, of the image in focus, minimal or no blur
Aperture is measured in f-stops – f/2.8, f/5.6, f/22 etc. The f-stop value determines whether you achieve a shallow depth of field or a deep depth of field.
- The lower the number = shallow depth of field
- The higher the number = deeper depth of field
See what I mean?!!! So confusing! But you will get the hang of it if you practise and see the results. I’ll go into this topic in much more detail in later posts.
PRACTISE, PRACTISE, PRACTISE!
Bearing in mind all of these 5 key elements will help you on your way to achieving a good photo. All work hand in hand so you have a lot to consider. Take your time to practise and my advice is to make notes so that you can learn from the different ways you use light or set the aperture. You will soon start to determine your unique style and quality of imagery that best showcases the brilliance of your brand.
For lots of quick photography tips, please follow my weekly ‘Tips on a Tuesday’ on Instagram @jemma_watts_photography.
Also, check out Jemma’s Creative Sessions in small business photography, interiors photography and food photography for more in-depth knowledge in these niche areas.
All images: Jemma Watts