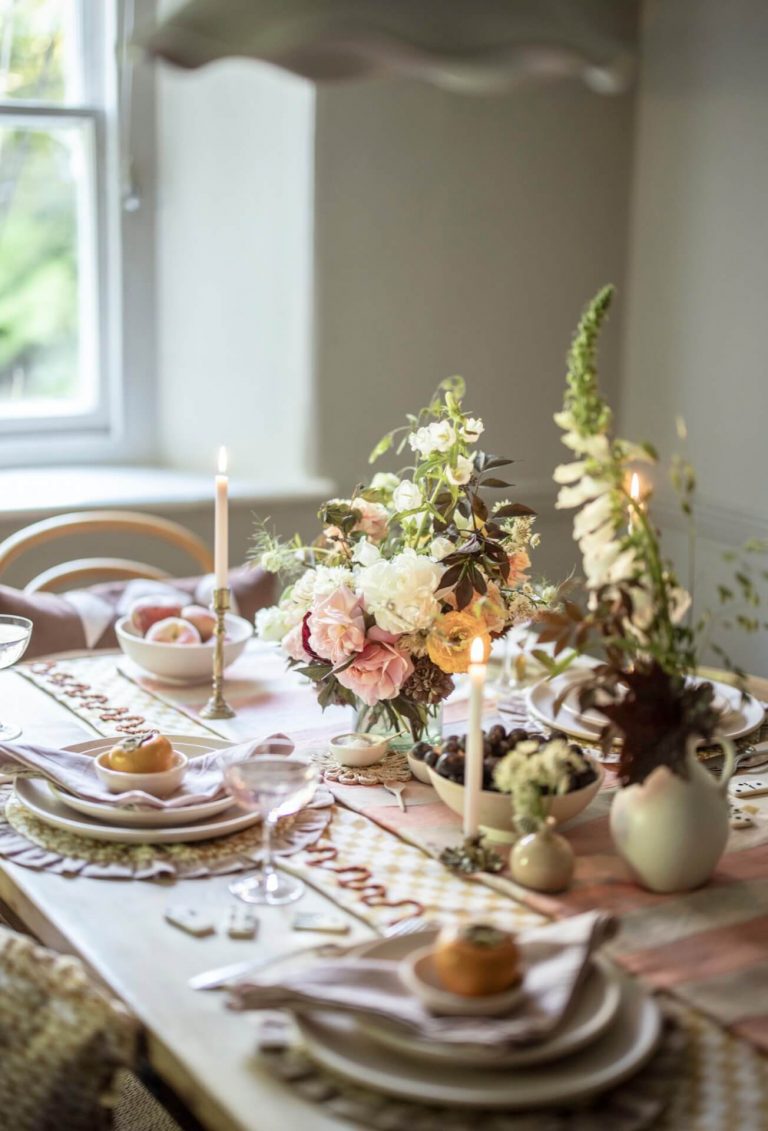
St Valentine’s Day is just around the corner and the shops are spilling out with their heart-shaped chocolates and flowers for “that someone special.” However, we see the day as another chance to share it with all the special someones in our lives, because to us, it isn’t about buying one another a box of chocolates to prove, “I love you.” It’s about sharing the love and taking the opportunity to tell those who are dear to us just how much they matter. So today we’re sharing a really easy DIY to make some candles which we’ll be giving to those who light up our life when Valentine’s Day rolls around.


You will need:
- Soy wax flakes
- Pre-waxed candle wicks
- Containers for your candles (these can be anything from old jam jars to teacups!)
- Essential oils to fragrance your candle
- A heat-proof bowl
- Ice-lolly sticks or a pencil
- Scissors
How to:
1. Make sure that any dirt or dust has been cleaned out of your chosen containers. We’re using old flower pots so have had to scrub extra hard to get the last remnants of soil out!

2. Measure your required wick length. We recommend you leave about 3-4 inches (7cm) extra at this stage. You will need to secure this to the bottom of your container either with super glue, a hot glue gun or by using a dab of your melted wax in the next step.

3. Fill your containers with the wax flakes to measure how much you will need. Then boil a pan of water and place the wax flakes into a heat-resistant bowl to sit on top of the pan. This will gently melt your flakes into liquid wax.

4. Once your wax has fully melted, take it off the pan and leave it to sit for 10 minutes so it cools down slightly. Then mix in a few drops of your essential oils (we picked ylang-ylang and rosewood to mix together for our candles). Add more drops for a stronger scent if you fancy. It is very important you do not do this whilst you are melting your wax as the essential oil will just burn off and not infuse your wax with a scent.
5. Make sure your oil is completely mixed in and then carefully pour your wax into your containers. Your heatproof bowl may still be hot, so you may need a tea towel or oven gloves.

6. Whilst your wax cools and solidifies, you will need to secure your wicks in place. We used ice-lolly sticks but you can also tie them around a pencil, pen or skewer.
7. Once they have cooled, you may find you want to top them up slightly so just repeat the last few steps with a smaller quantity of wax. Otherwise, it’s now time to snip the wicks – leave about 2cm for them to start burning with.

Now simply light and enjoy! They are a lovely gift to yourself too so why not make a batch and keep some for yourself? When giving to a loved one, make sure to present your candle beautifully – perhaps wrap in brown paper, add some raffia and a sprig of greenery.
Thank you for this straightforward DIY Kitty and Nathan! We’re off to gather containers and get wax melting! Check out Kitty and Nathan’s photographic diary, Searching for Tomorrow – we love this post about befriending deer.


