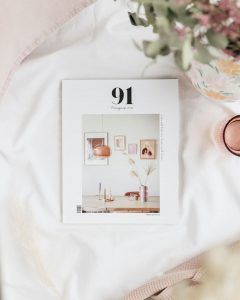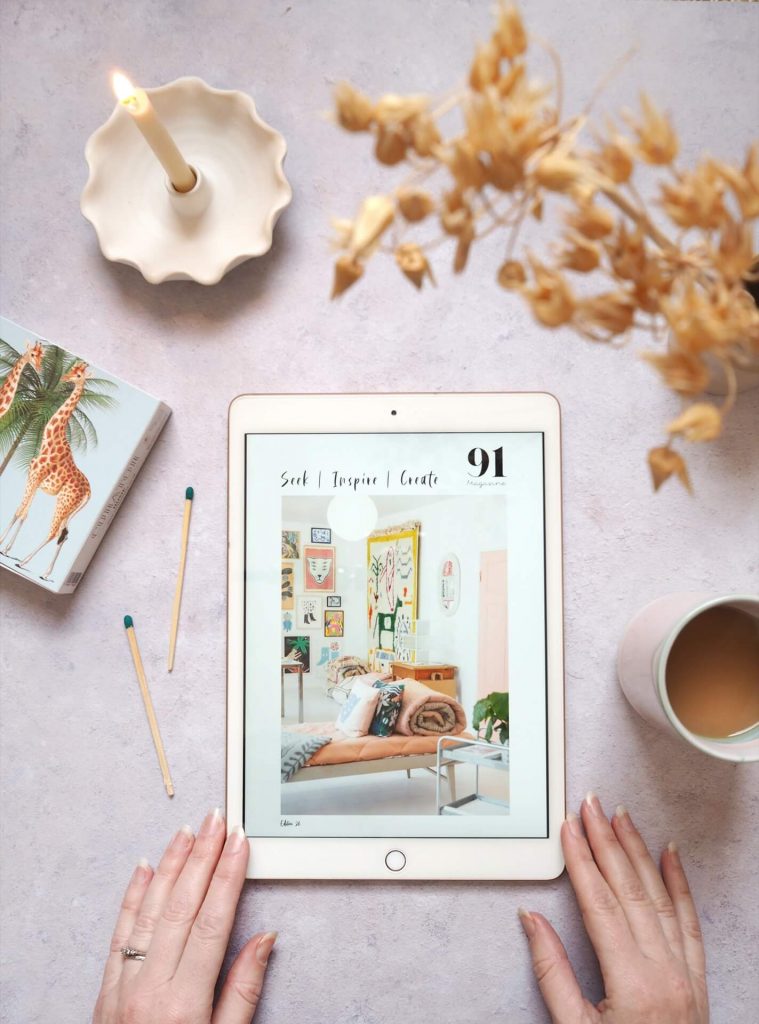
Today we welcome 91 Magazine stylist Laura Sawyer to the blog to share two of her favourite Easter craft projects, soaked in the nostalgia of her Polish family background. Look out for more of Laura’s work in our upcoming S/S issue of the magazine.
Thanks also to Malcolm Menzies for the beautiful photography…
A Polish Pastel Easter
I have always felt very proud of my Polish roots, partly because my mother brought us up with Polish traditions and partly because my father, who is English, always celebrated them too.
Easter in Poland is colourful and lots of fun. It’s a time for making beautiful things and getting together with family and friends. I wanted to share some of the traditional Polish elements of Easter that I remember making with my mama but give them my own, modern twist.
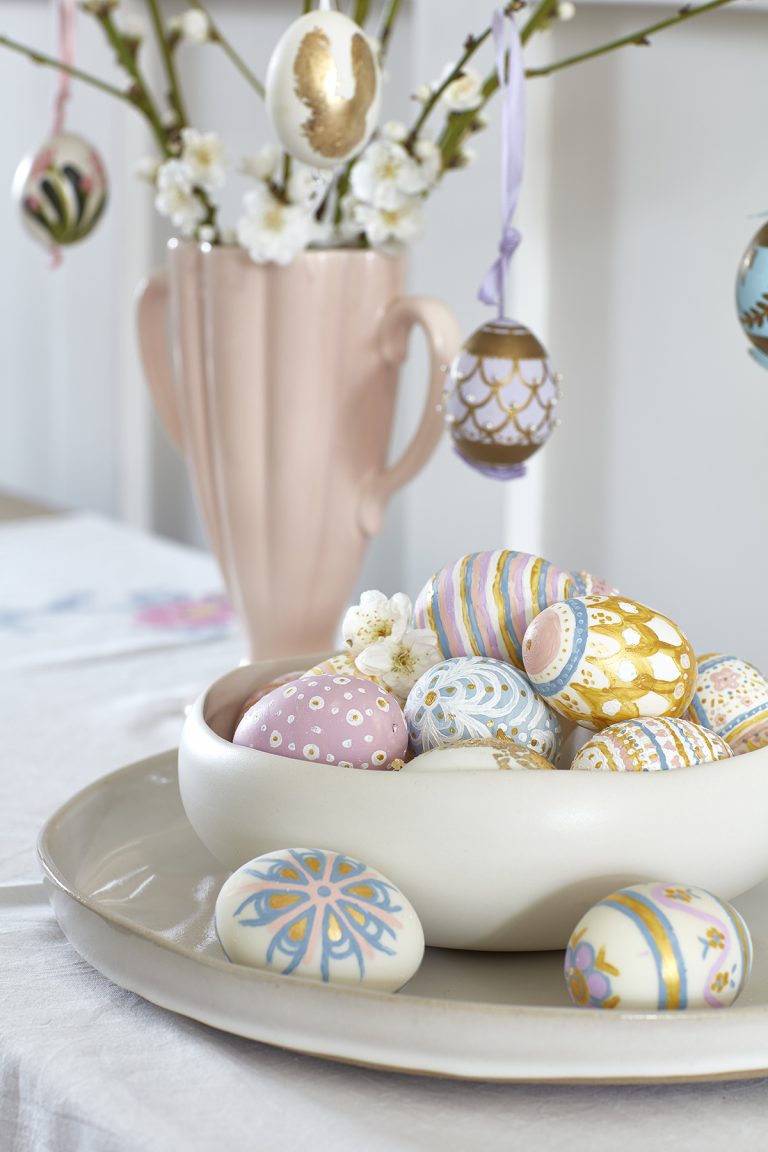
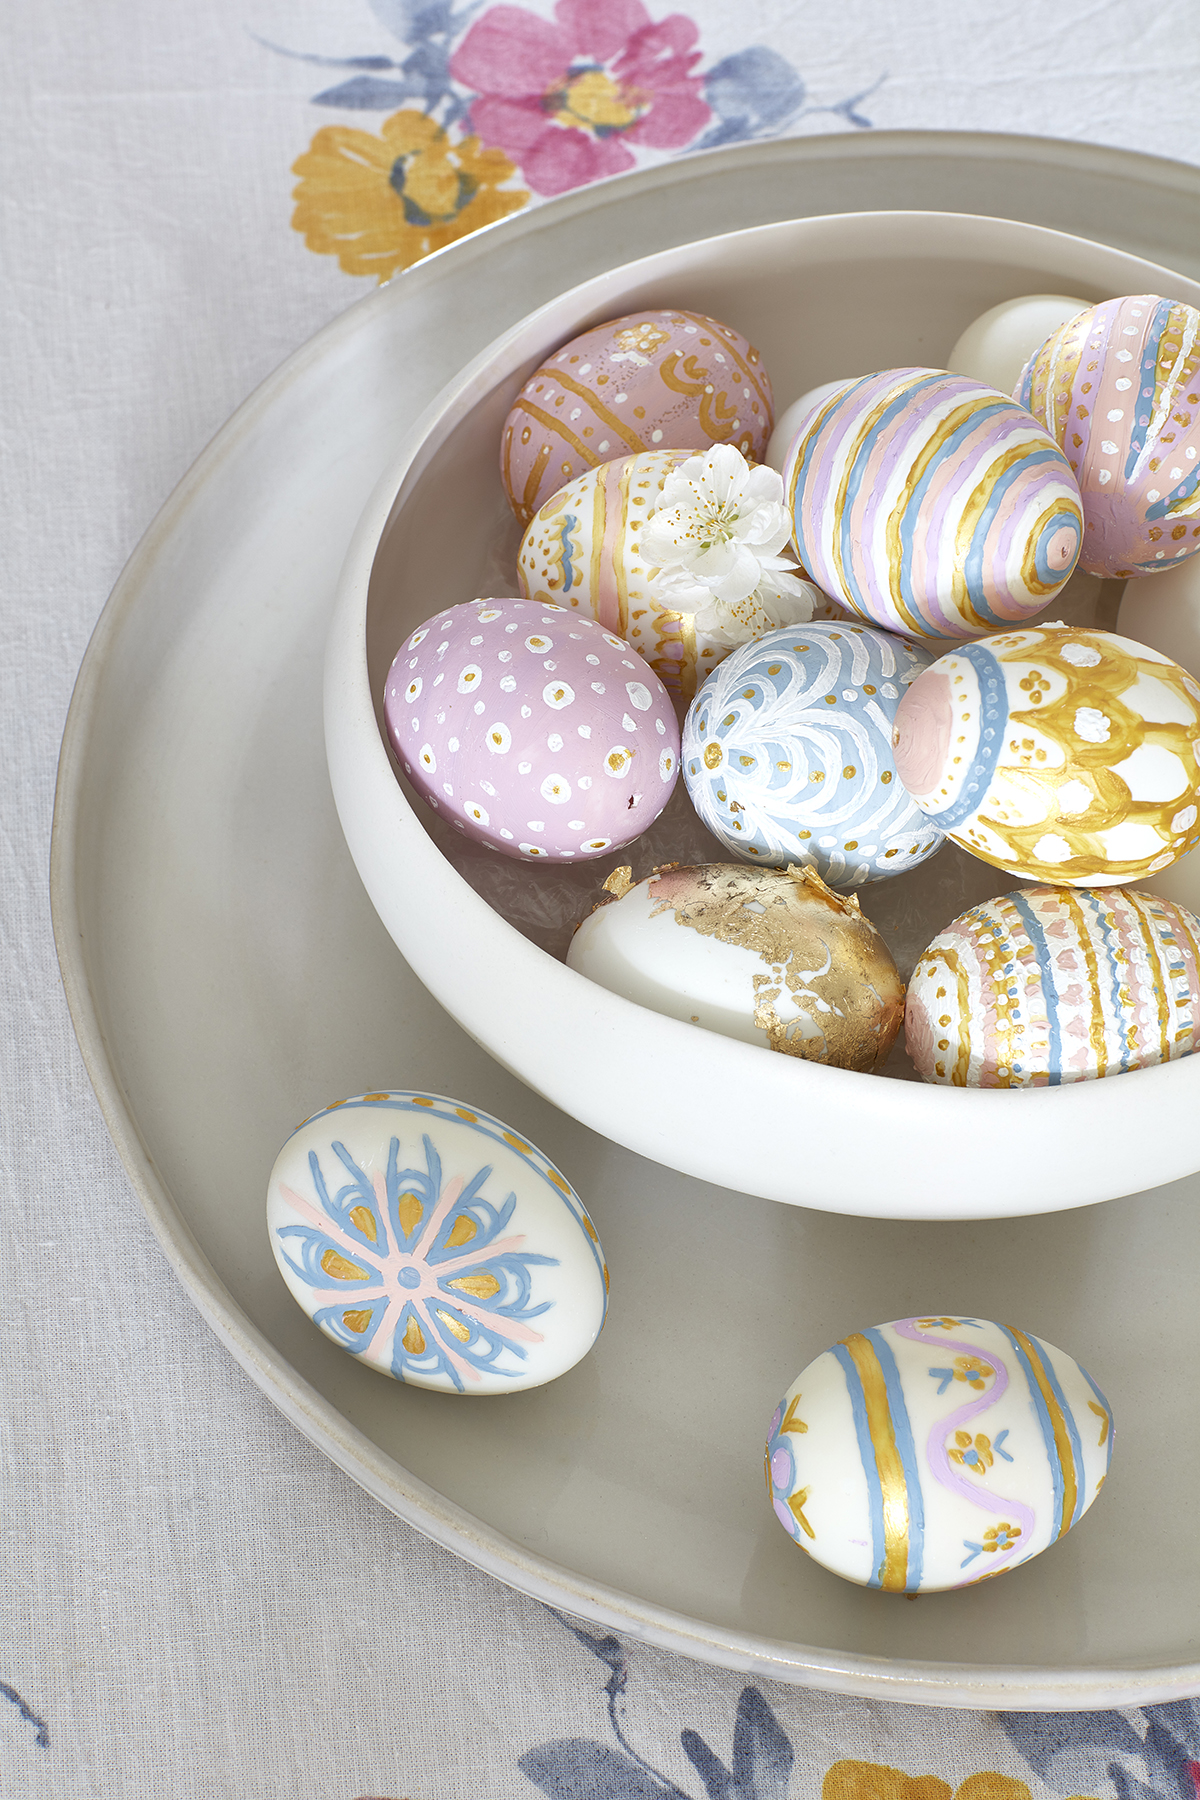
Pisanki are painted eggs, normally painted in bright vivid colours. This is something that I remember doing with mama when I was a little girl, and now, as a grown woman too – she came to visit me last week while I was painting eggs and joined in – so there are two of hers in that bowl too!
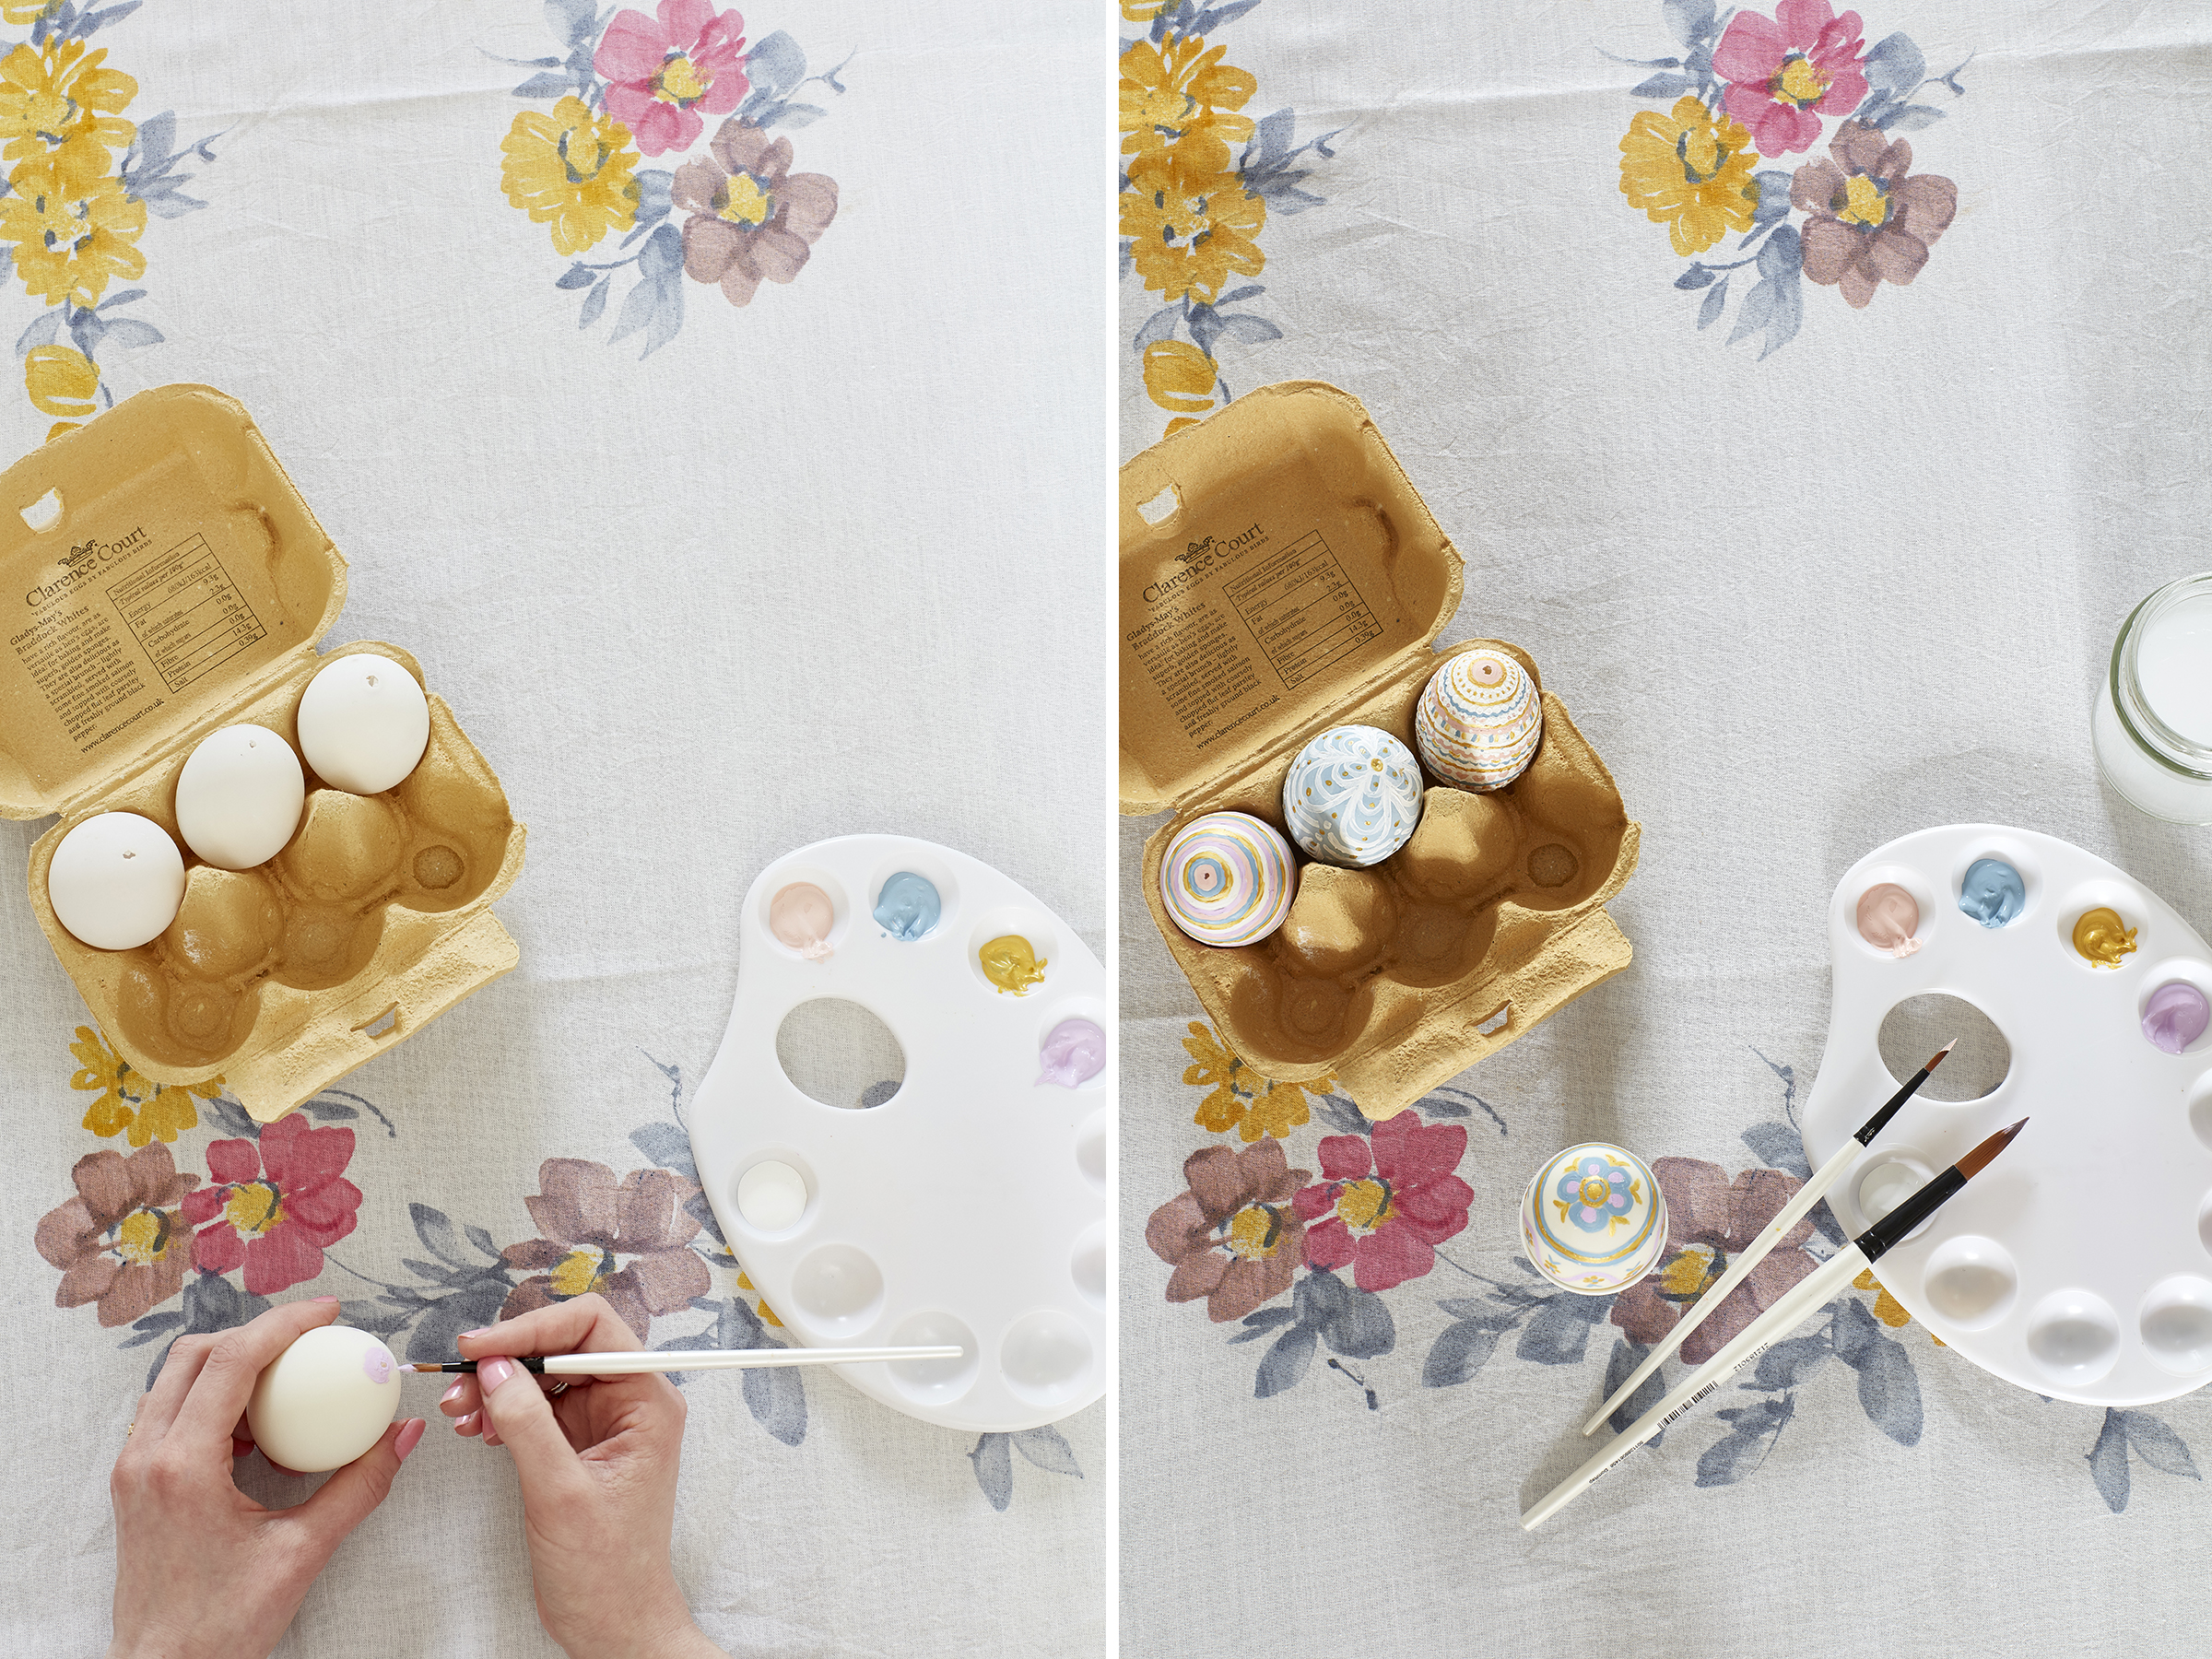
Materials needed: Eggs (I’ve used white duck eggs), acrylic paints, paintbrushes, pins, ribbon (optional)
How to make:
1. Make a hole in each end of the egg with a pin. Keep the holes as small as possible, but it helps if the bottom hole is a little bigger.
2. Next, you need to blow the contents out of the eggs into a bowl. (You can then make yourself a delicious omelette or cake!)
3. Paint your eggs! I used acrylic paints due to the colours available and the good coverage they give. You may want to draw out your designs in pencil first if you find this helps you. Paint one end at a time, so that you can let it dry in an egg cup.
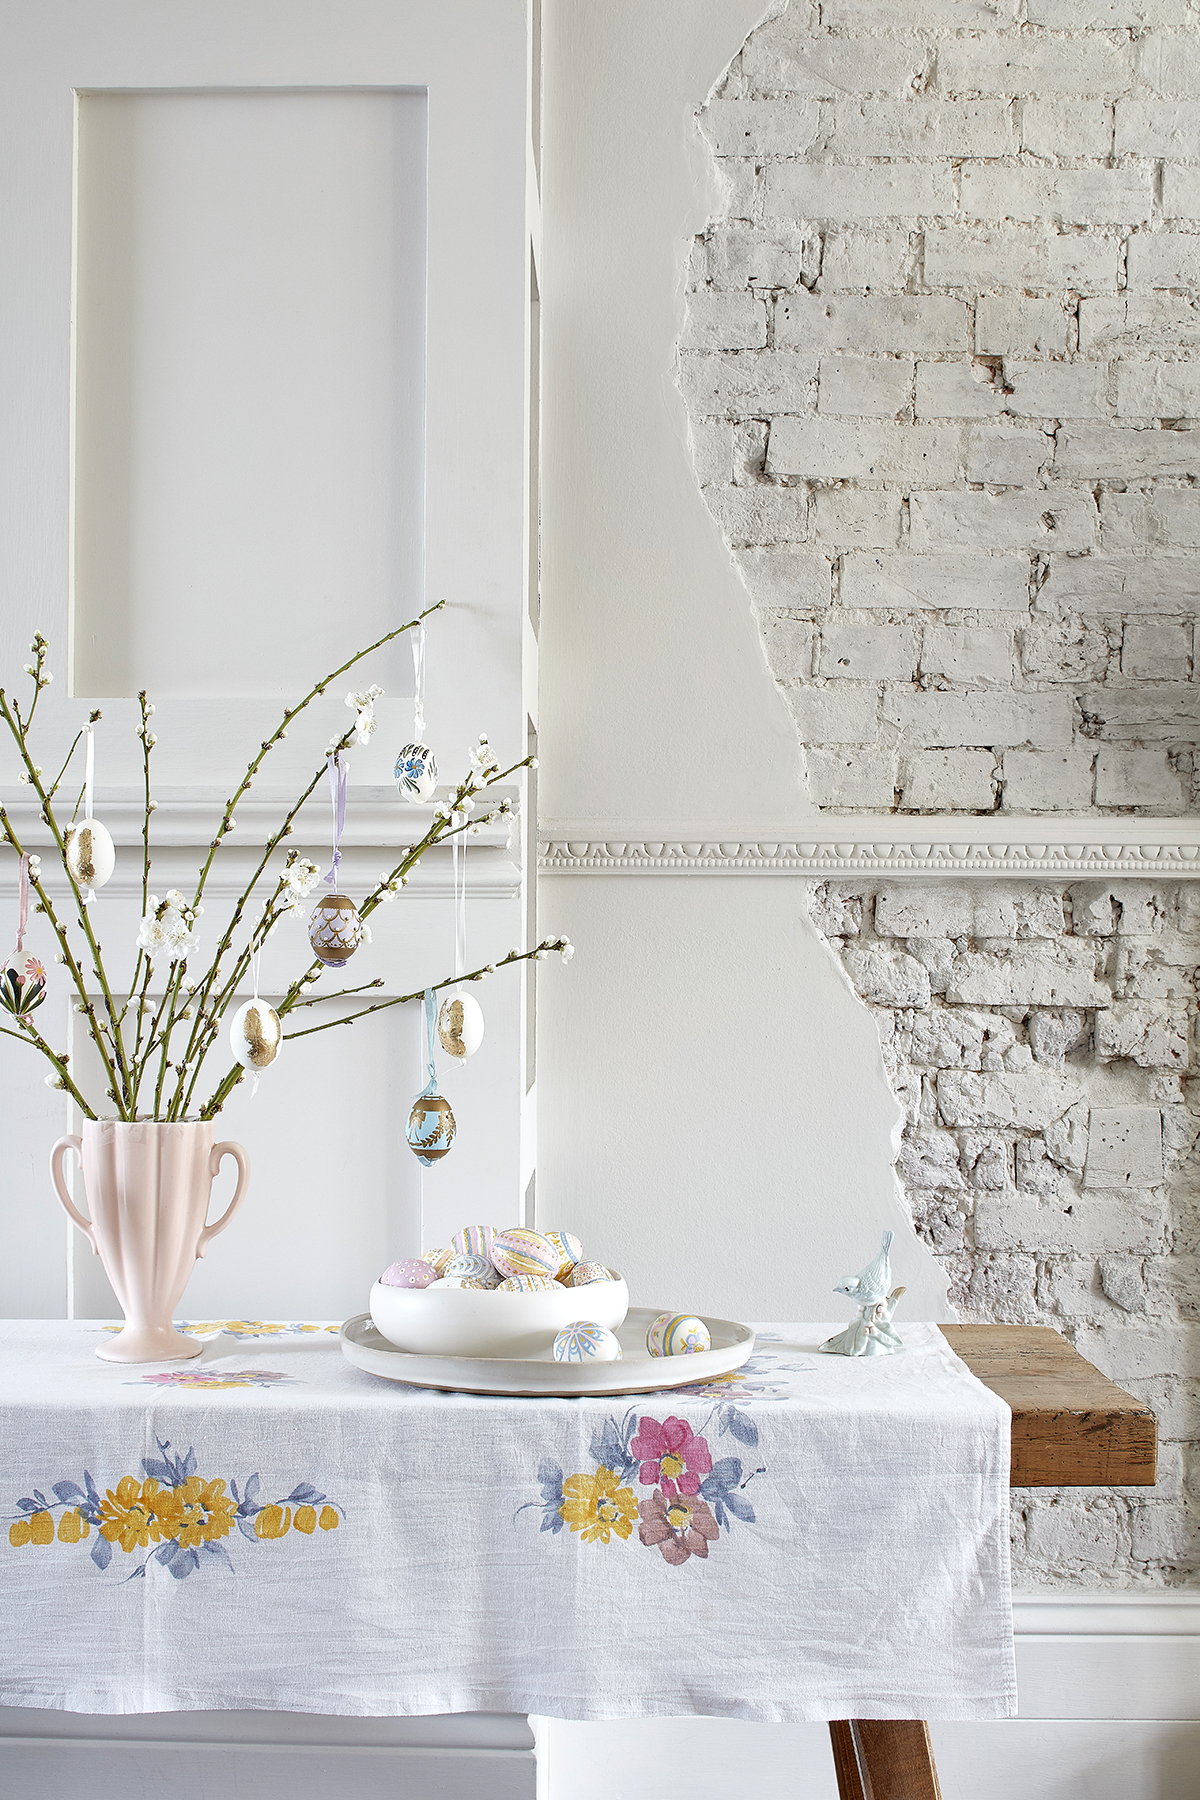
4. You can either display your eggs in a large bowl, or if you want to hang them, simply take a piece of wire that is as long as two and a half eggs. Fold it in half, then thread a length of ribbon through the ‘eye’ of the wire that you have folded, so that you have a loop of ribbon. Pass the wire, with the ribbon attached through both holes in the egg. Tie the ends of ribbon together to form a knot, leaving a loop at the top for hanging. . I hung mine from some blossom which is a traditional flower to use at Easter in Poland.


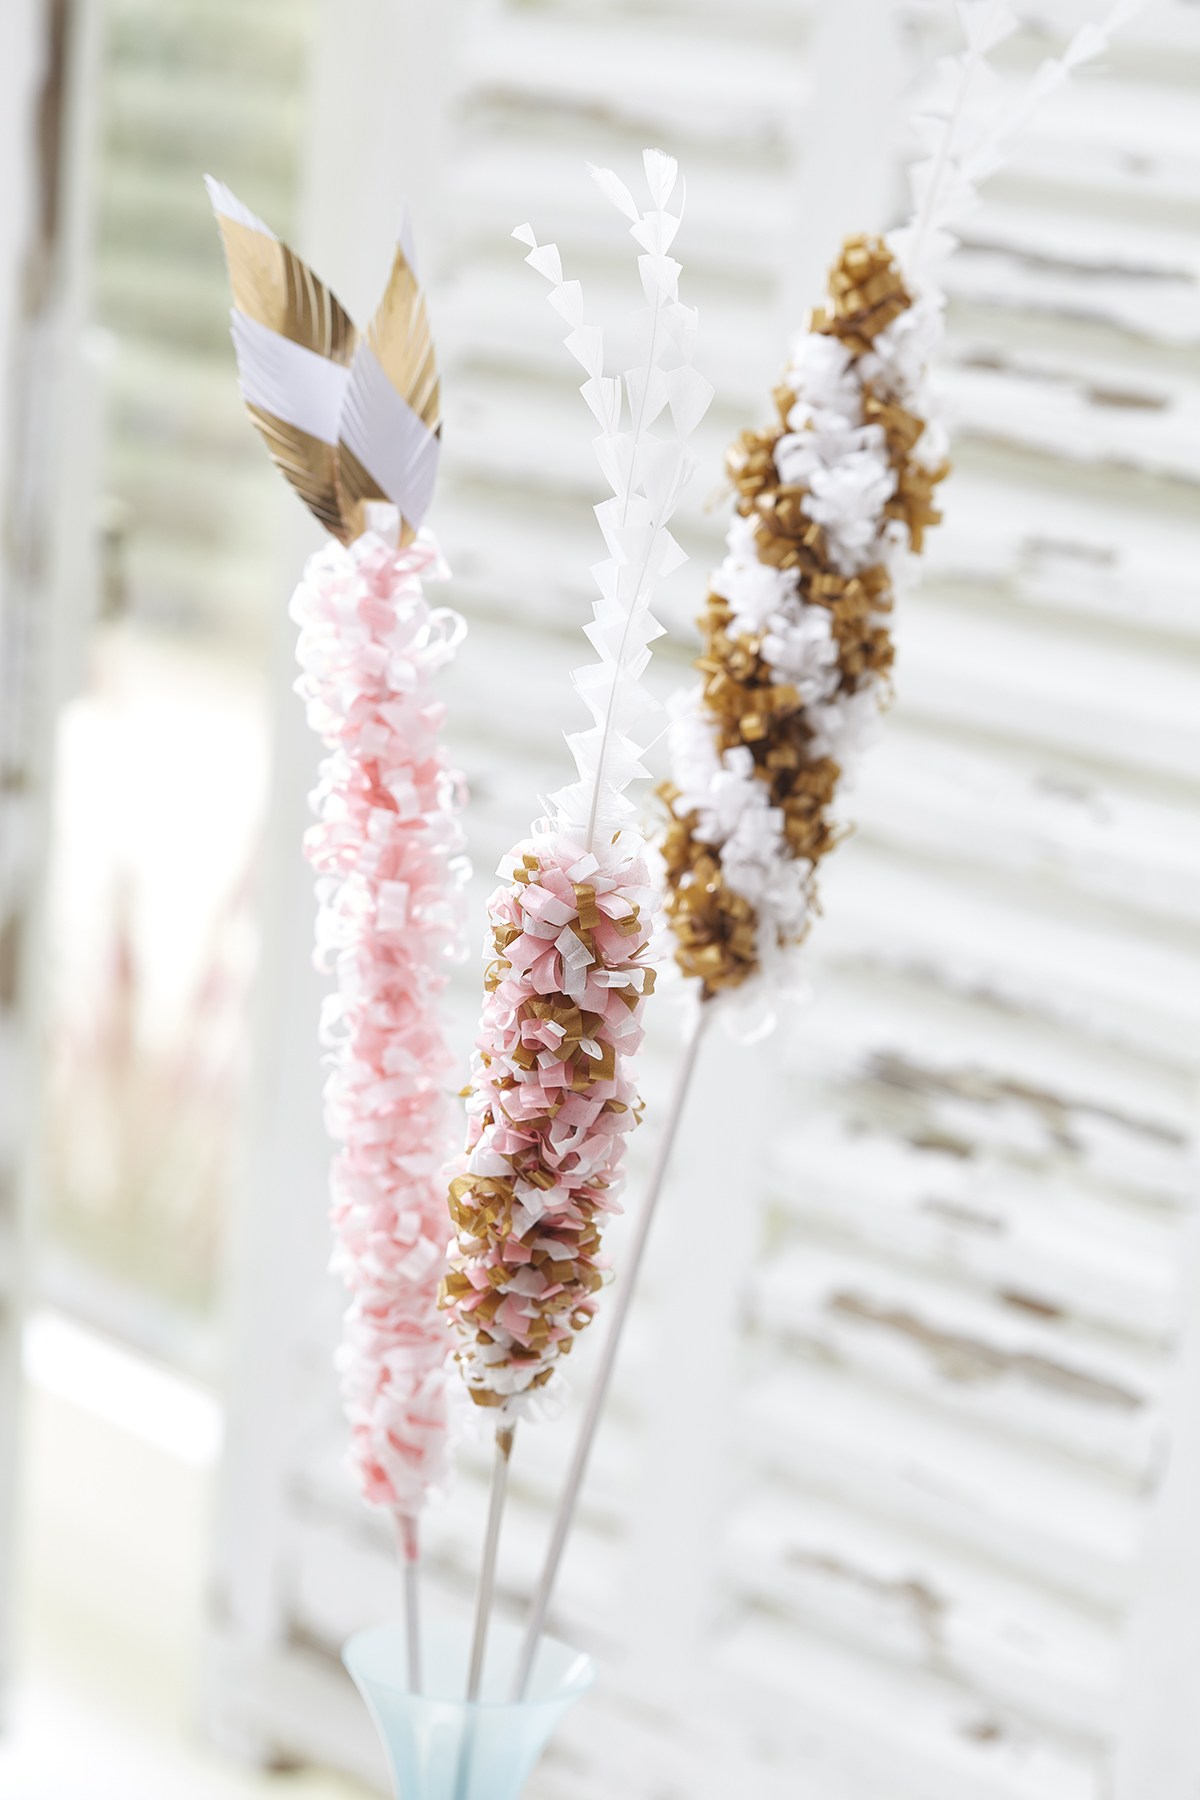
Palemki are made for Palm Sunday, again normally bright and vivid in colour. I have went for a pastel palette instead, but still making them in the way that my mama taught me.
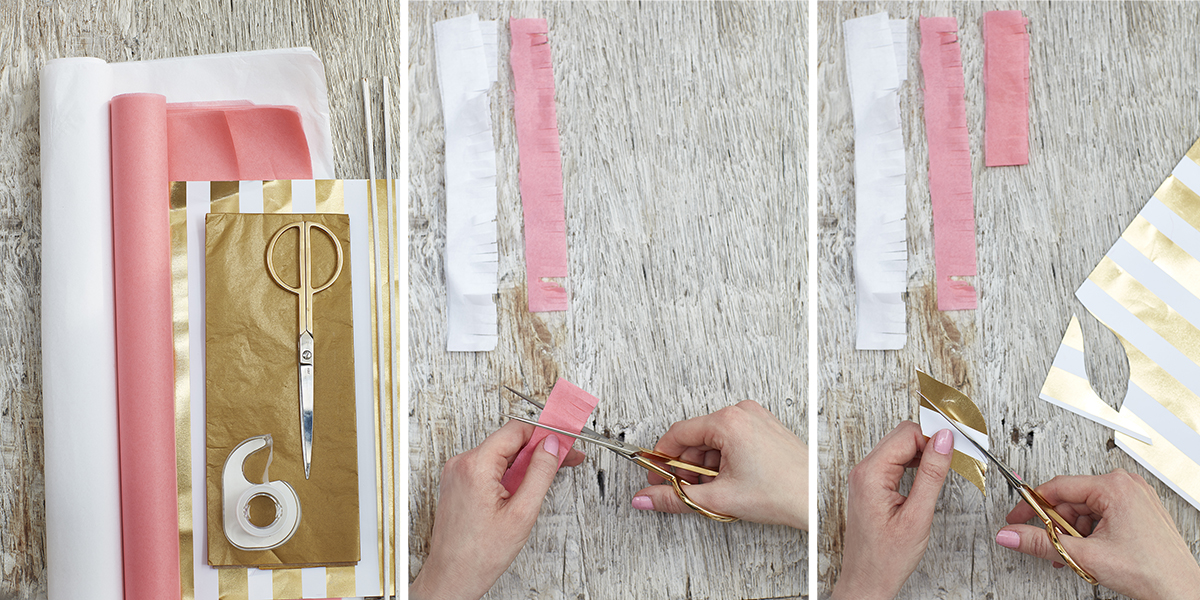
Materials needed: tissue paper, scissors, tape, garden sticks and card to make your own feathers
How to make:
1. Cut long pieces of tissue paper about 5cm wide, the fold them in half along the long edge. Cut small slits along the folded edge of each piece. Set to one side.
2. Using your card, cut out a feather shape, then cut small curved slits from the outside into the middle.
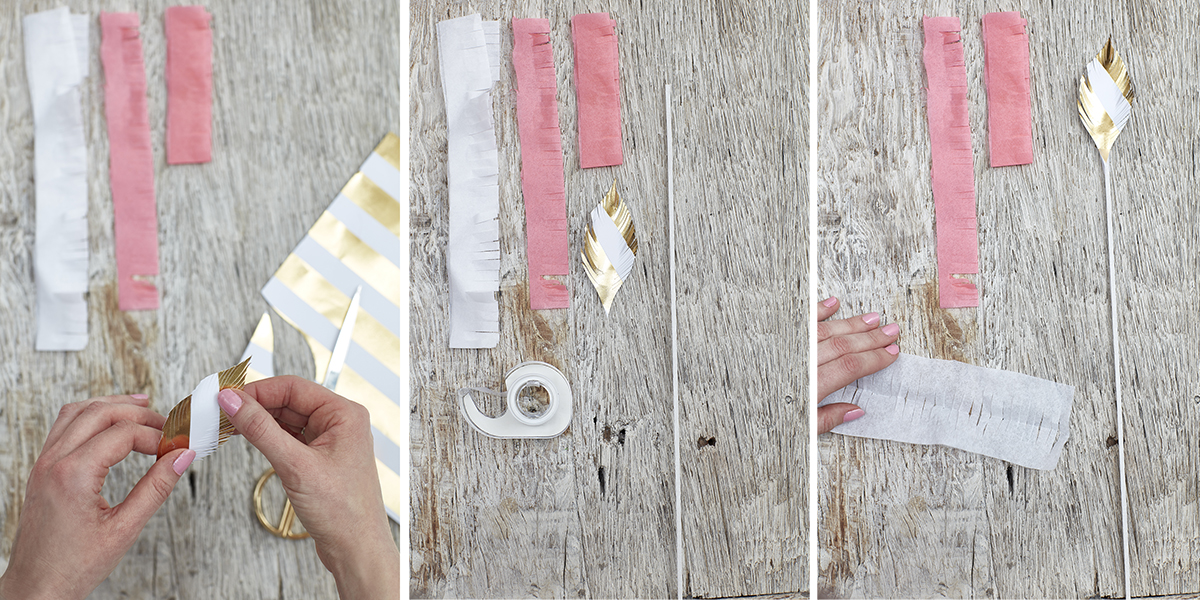
3. Shape the feather to give it a bit of a curve and lift some of the feathered edges creating a realistic look. Then, tape the feather to the top of your stick.
4. Next, open out one of your pre cut tissue paper strips, but do not iron out the crease.
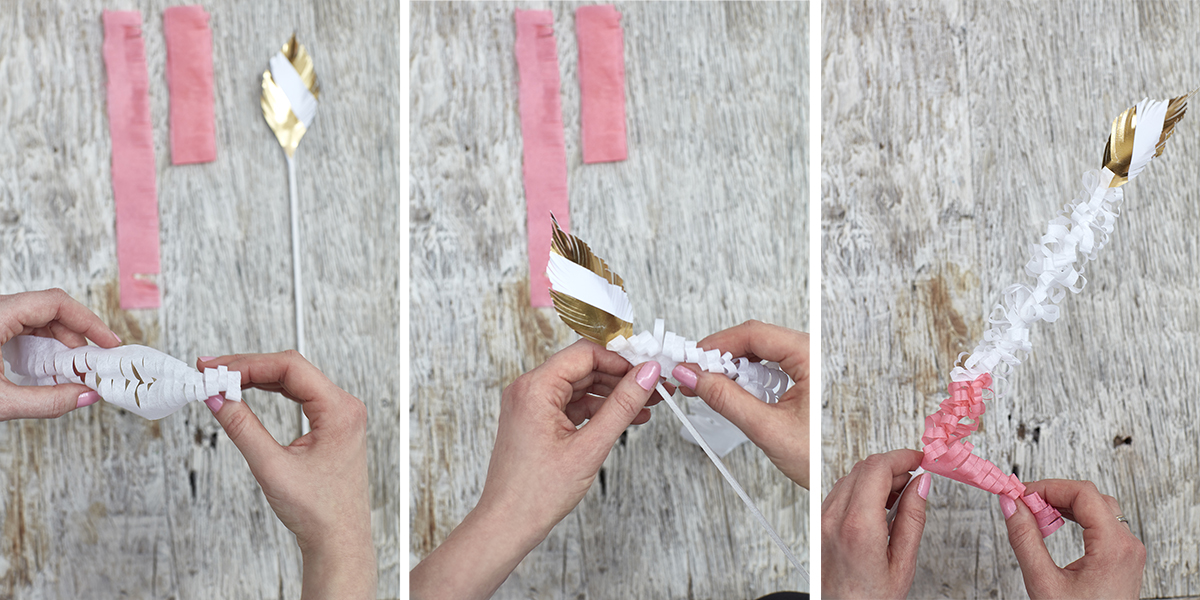
5. Fold the tissue strip inside out to create a set of rounded loops. Tape this to the stick just under the feather, then wrap it around the stick and tape at the end. You may need another tissue strip to cover your entire stick.
TIP: You may want to use more than one colour. You can either wrap two colours of tissue paper at a time side by side, or you can sit them one under the other.
If you are interested, you can read more about Polish Easter traditions.
Many thanks Laura! We LOVE both of these projects!
Happy Easter everyone, and thanks to those who have already pre ordered their copy of our S/S print issue. There’s still time to get your order in! ORDER PRINT ISSUE.